8. Instrumentation
🛠️ Instrumentation for placing orthopedic plates
The success of osteosynthesis with a plate depends not only on the chosen implant (plate and screws), but also on the quality of the instruments used to place it.
Each step (drilling, orientation, insertion, and locking) requires appropriate tools to ensure the precision, stability, and safety of the construct.
🔹 1. Locking guide
This guide screws directly into the hole of the plate when it is designed to receive a locking screw.
It has two functions:
- Guide the drill bit exactly along the axis of the hole to respect the locking angle.
- Ensure perfect alignment of the locking screw so it properly engages the thread of the plate.
Without this guide, the screw could not lock correctly and angular stability would not be ensured.
Illustration :

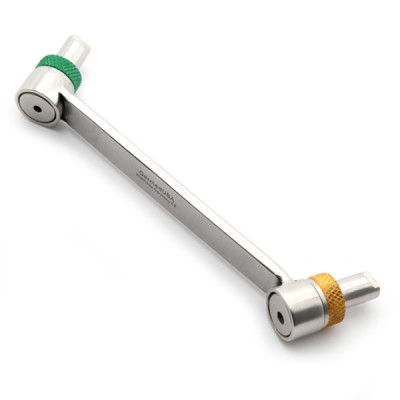
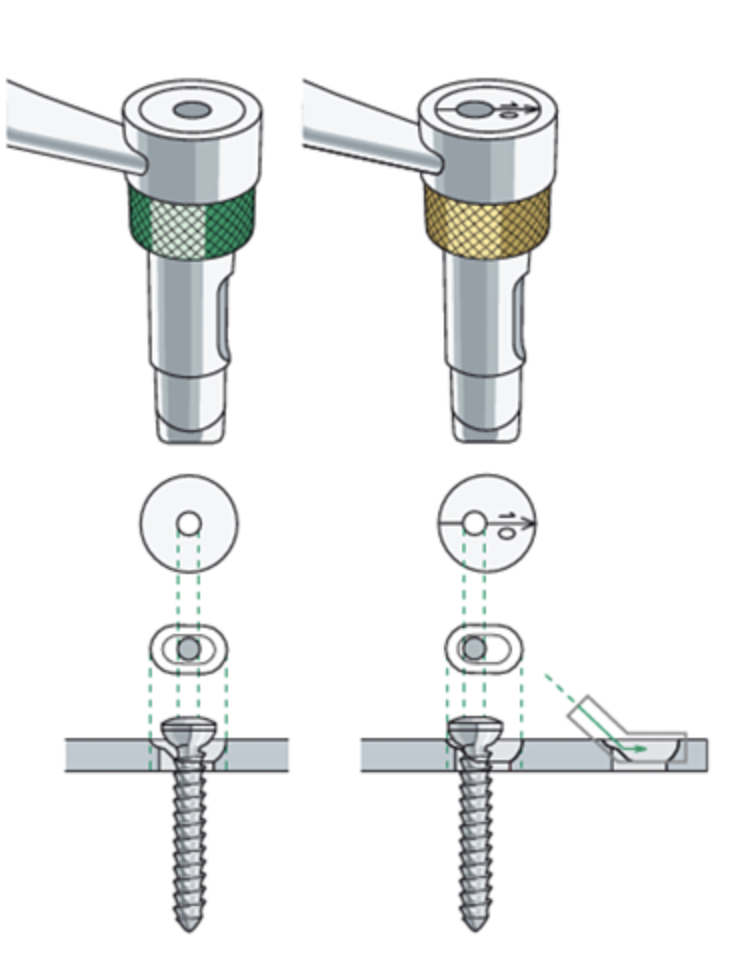
🔹 2. Neutral or compression drilling guide
This unthreaded guide is placed in an oblong (DCP) hole.
It can be used in two ways:
- Neutral position: guides the drill in the middle so the screw is centered → fixation without compression.
- Compression position: guides the drill off-center so the screw is placed on the edge of the hole → when tightened, the head slides and exerts dynamic compression on the fracture site.
Illustration :
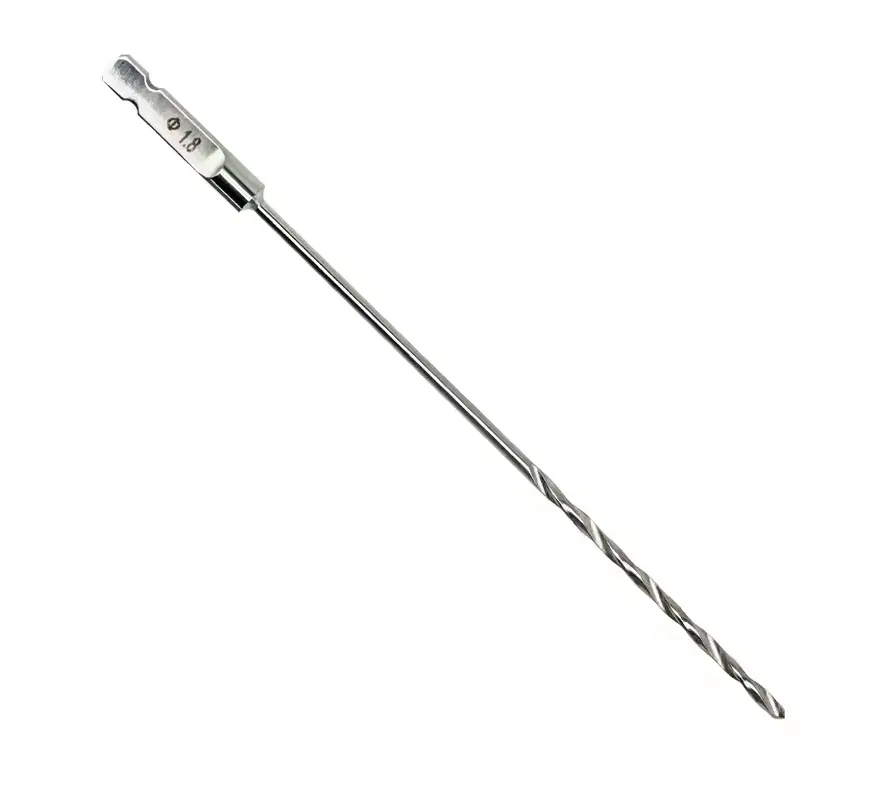
🔹 3. Drills (or bits)
The drill is used to prepare the canal in the bone before screw insertion.
Each screw diameter has its corresponding drill bit.
Proper drilling is essential to:
- avoid damaging the bone,
- ensure good anchorage,
- and guarantee precise screwing.
Some drills are associated with depth guides to avoid going too far.
Illustration :
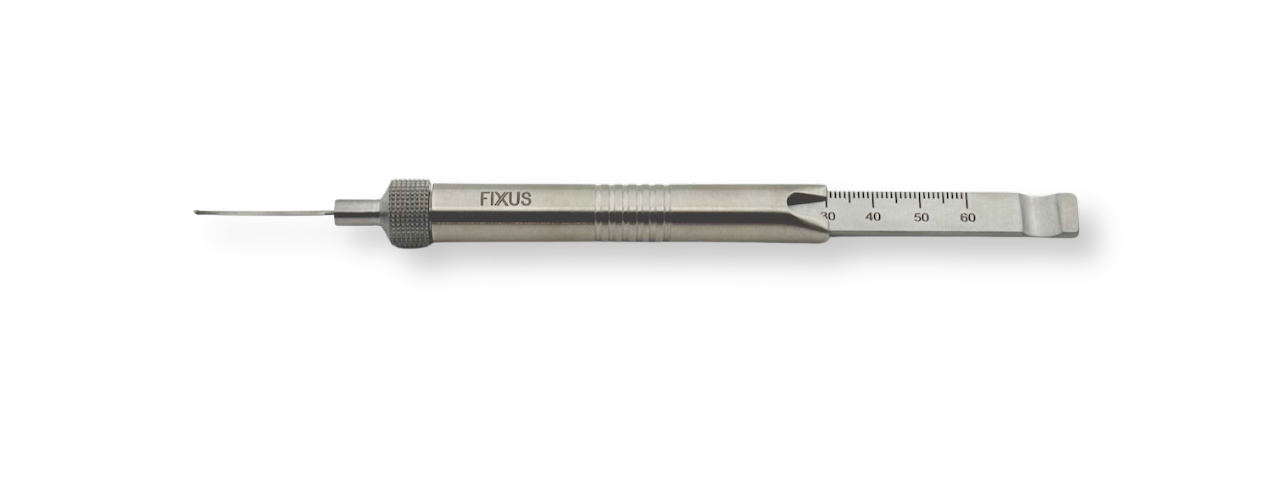
🔹 4. Depth gauge
After drilling, the gauge is used to measure the exact depth of the bony canal.
This determines the screw length to choose, so that it anchors correctly in the opposite cortex without protruding excessively.
- A screw too short → loss of stability.
- A screw too long → risk of tissue injury.
Additionally:
- A screw placed in cancellous bone anchors along its entire length.
- A screw placed in cortical bone anchors only on two portions of its shaft (top and bottom). The middle of the screw is in the medullary cavity (bony void, hollow area without mechanical resistance). In this region, to hold well, a screw should therefore slightly protrude from the bone to anchor in the cortex opposite the screw head.
Illustration :
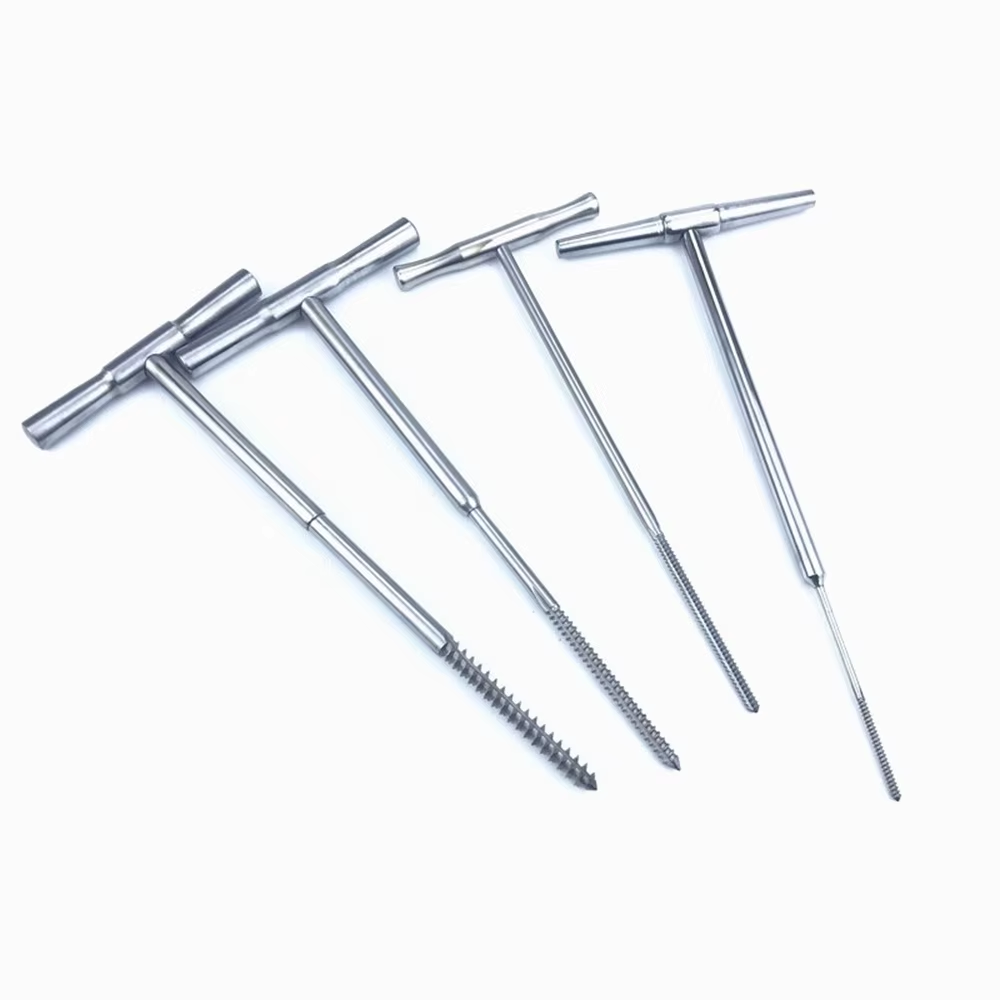
🔹 5. Taps
The tap is used to prepare the threading in the bone when non–self‑tapping screws are used.
It creates a thread in the cortex to facilitate screw insertion and avoid bone fissures.
Self‑tapping screws, increasingly common, create this threading directly during screwing.
Illustration: T‑handle manual tap, AO‑compatible taps also exist.
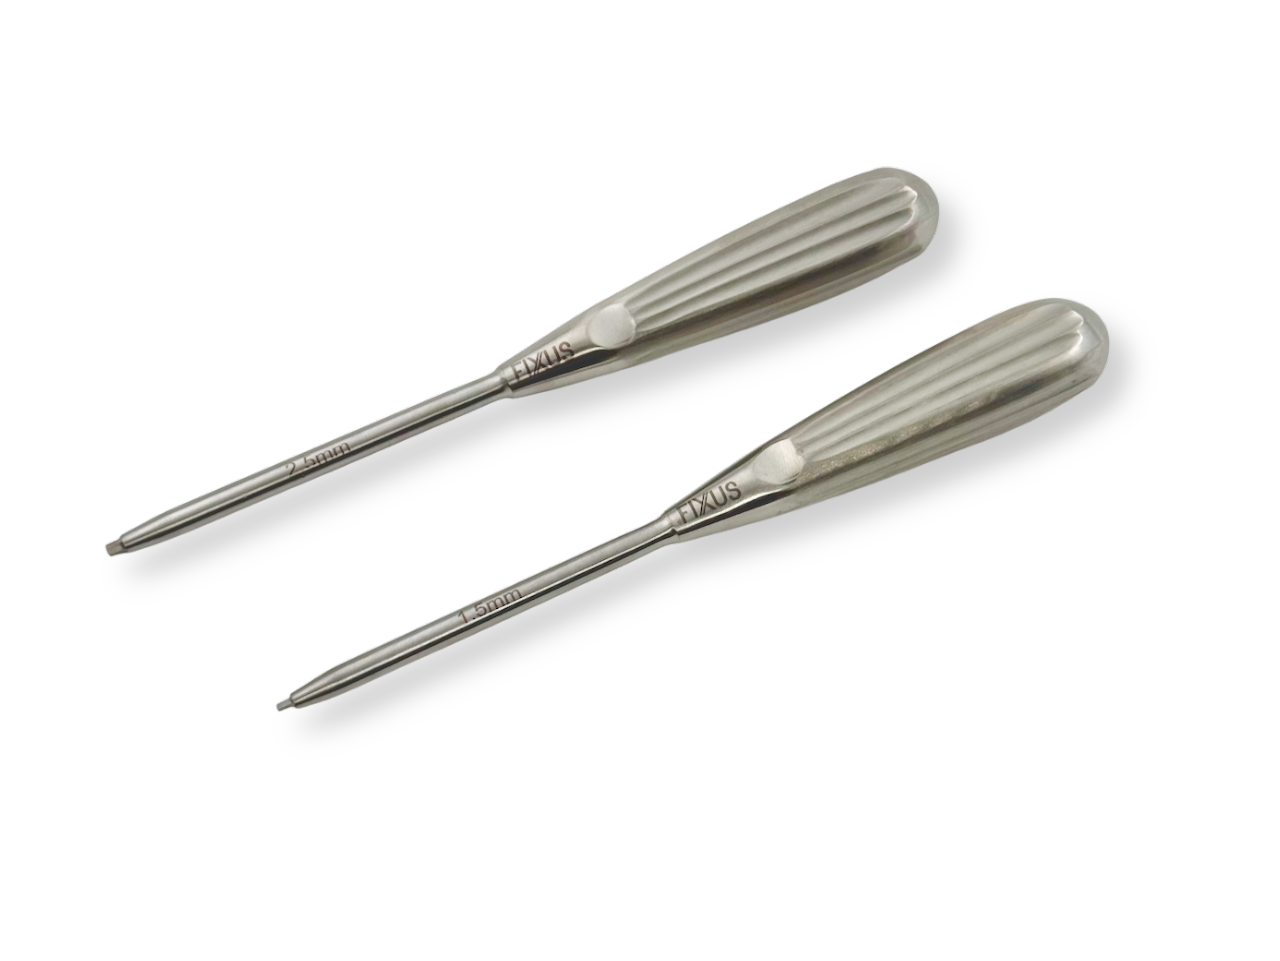
🔹 6. Screwdrivers and appropriate bits
Each screw has a specific drive (hex, cruciform, star, etc.).
The corresponding screwdriver allows:
- effective transmission of torque,
- controlled and precise screwing,
- final locking in the case of a locking screw.
Some screwdrivers are associated with a holding sleeve to prevent the screw from falling during approach.
Illustration :
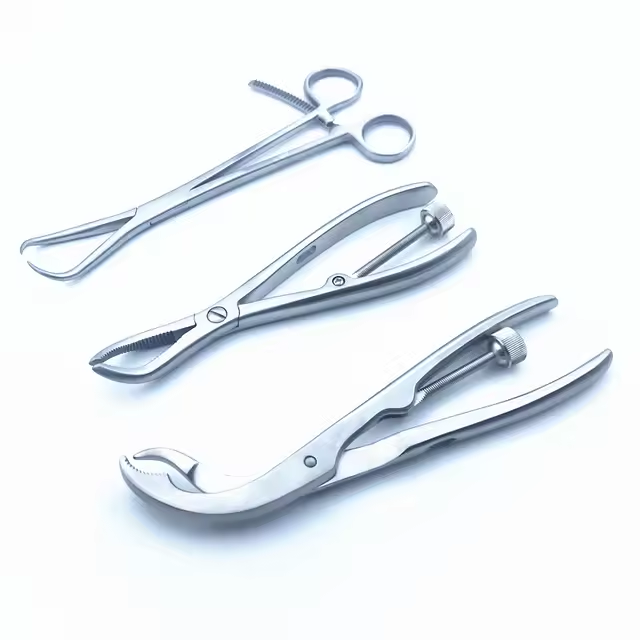
🔹 7. Reduction pins and bone holding forceps (clamps)
Before definitive screw placement, the fracture must be reduced (properly aligned).
Temporary pins or reduction clamps are used to:
- hold the fragments in position,
- facilitate placement of the plate,
- check alignment before final screwing.
Illustration :
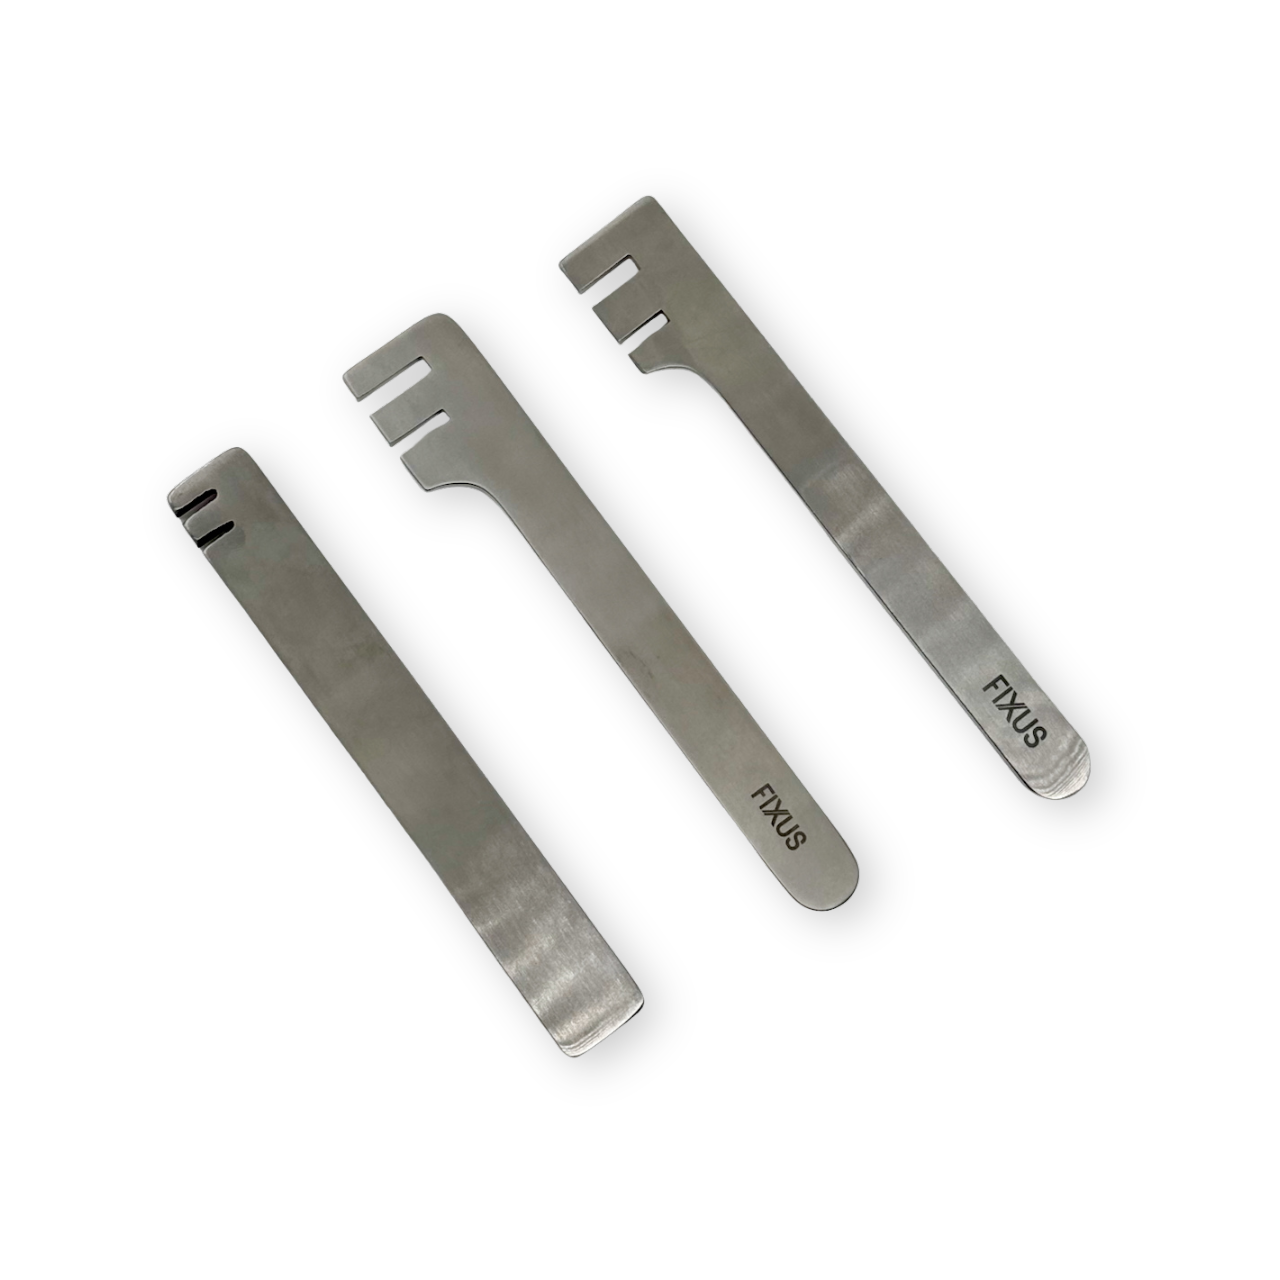
🔹 9. Contouring (bending) pliers
Plates often need to be adapted to the natural curvature of the bone.
These pliers allow to:
- slightly bend the plate,
- adjust its tilt or rotation,
- obtain optimal contact with the bone surface when necessary (DCP plates for example).
Proper bending ensures better stability and reduces stress on the screws.
Illustration :
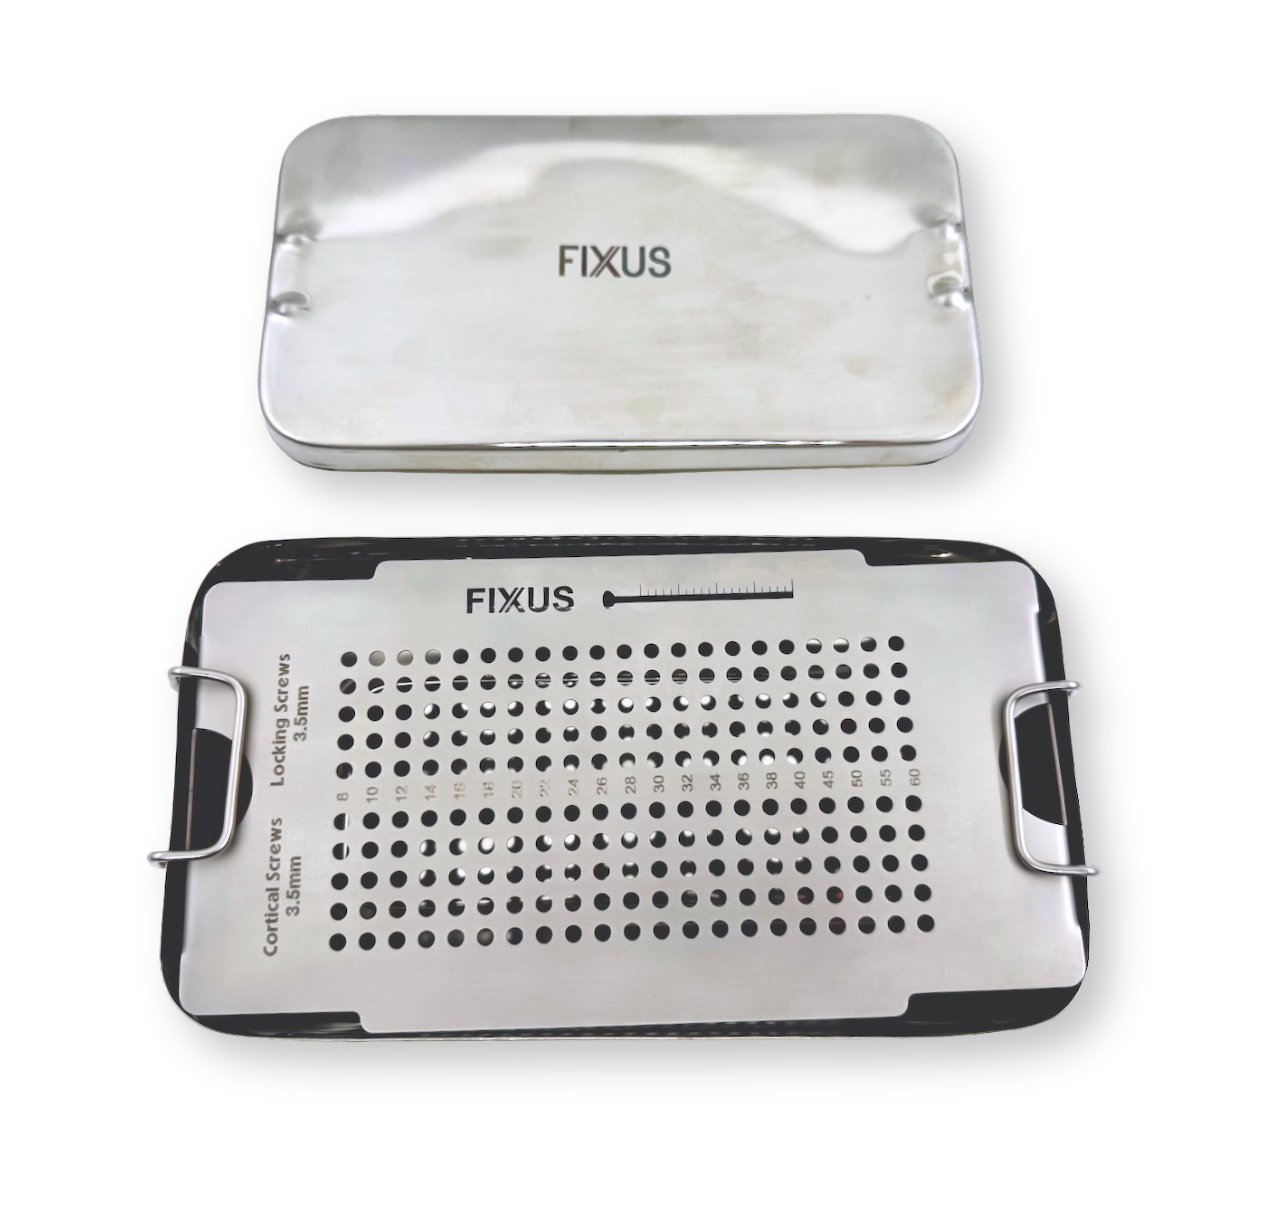
🔹 10. Screw boxes
Screw boxes contain all the screws needed for placement, sorted by diameter, type, and length.
Role:
- Ensure a quick selection of the appropriate screw after measurement.
- Sterilize screws and plates.
- Keep the stock of screws and plates organized.
They allow the surgeon to choose precisely the right screw to ensure osteosynthesis stability.
Illustration: box for dry heat oven / also exists in an autoclave version
✅ Key points to remember
Each instrument has a specific function to ensure successful placement.
The choice of guide, drill, screw, and drilling angle directly influences final stability.
Understanding instrumentation means understanding how the plate fulfills its mechanical function (compression, locking, bridging).
Commenting is not enabled on this course.